When it comes to home decor for fall, I love items that works well for the entire fall season. The same could be said for great cookie ideas. These royal icing pumpkin cookies work all season long, so learn how to make them and you’ll be golden year after year. Make them to celebrate the arrival of fall, a Halloween celebration or add them to the Thanksgiving dessert table. No matter when you serve them, they are sure to get some oohs and aahs. How could such sparkling pumpkins cookies with vines not get noticed? These are the ideas that make my Pinterest boards swoon. Pick your favorite sugar cookie recipe and get to decorating with these great step by step instructions from Racquel Bregg.

Royal Icing Pumpkin Cookies Tutorial
Supplies & Ingredients:
- Your favorite sugar cookie dough cut and baked into pumpkin shapes
- 1 batch royal icing
- orange and green gel food coloring (or a combination of colors you like)
- piping bag fitted with #2 round tip
- toothpicks
- orange sugar crystals
Directions:
Begin by dividing your royal icing into 2 parts. Approximately ¼ will be colored a soft green and the rest should be colored orange. I chose more muted shades for my pumpkins as I wanted them to be perfect for fall rather than just Halloween.
Once you’ve colored your icing, place 1/3 of the orange icing in your piping bag and add a thin outline to the pumpkin cookies, setting them aside to dry.

While the outlines dry, mix a small amount of water to the remaining orange icing. This will be used to flood the cookies. Use only a few drops of water to a time and stir thoroughly before adding more. You do not want this icing to be too thin.
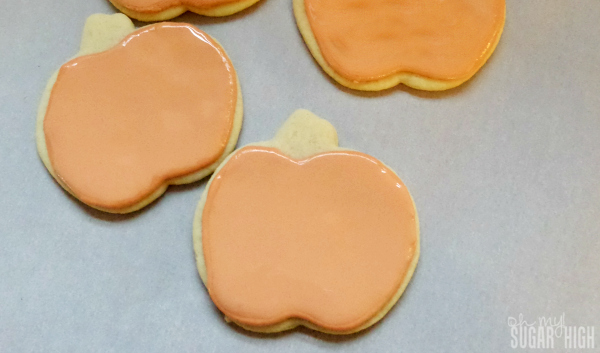
Carefully flood each pumpkin with the thinned orange icing. Use a toothpick to spread the icing, making sure the entire surface is covered evenly.
While the icing is still very wet, sprinkle a small amount of orange sugar crystals over the top part of the pumpkin. You can cover as much or as little as you’d like. I wanted just a little shimmer on the tops of the pumpkins.

After the icing has dried a little bit, add thin lines of the orange piping to create the ridges of the pumpkin.
Let the orange icing harden completely before moving on. They will take a while to harden completely.

Once the orange icing is dry, pipe a small amount of green icing to create the stem of the pumpkin. I applied small lines horizontally so the stem had texture. You can also add a small leaf to each pumpkin at this time. To do this, I again simply piped the outline and added lines to give the leaf texture.
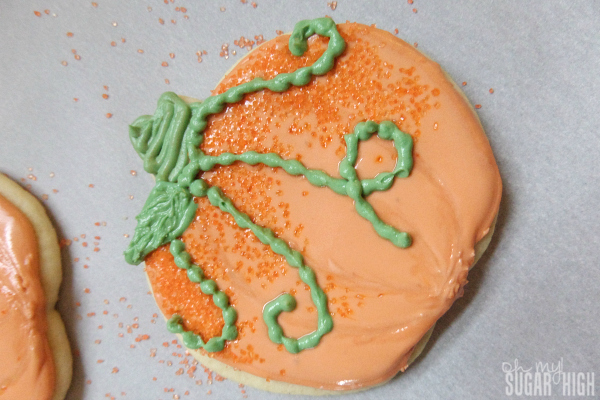
Next, add several vines to each pumpkin by creating a line of small dots that are very close together. This gives the vine a texture as well.
Set the cookies aside until the green icing becomes hard.
Happy decorating and pinning!

Leave a Reply